A torque wrench protects fasteners, assemblies, and the people relying on them. Yet accuracy can drift through wear, contamination, temperature changes, or careless storage. Learning how to calibrate a torque wrench accurately requires more than turning a knob and checking one reading. It requires a controlled method, suitable equipment, and clear records.
ISO 6789:2017 provides internationally recognized procedures for torque-tool testing and calibration. NIST Handbook 105-1 also highlights traceability, measurement uncertainty, and documented calibration processes. These references show an important point: a reading without a reliable measurement chain proves very little. William Thomson, Lord Kelvin, expressed the principle clearly: “When you can measure what you are speaking about, and express it in numbers, you know something about it.” His words were not written for torque tools, but they fit this task remarkably well.
Small details matter. Use a stable calibration device, keep the wrench aligned, and apply force smoothly. Check several points across the working range, not only the highest setting. Record the direction, result, ambient conditions, and equipment identification. A clean workbench helps. So does patience.
Still, no procedure is perfect. Human force can vary, and inexpensive testers may hide uncertainty. That uncomfortable gap deserves attention. The following seven tips explain how to calibrate a torque wrench accurately while recognizing real workshop limitations, manufacturer instructions, and the need for professional verification when results affect safety-critical work. Calibration is not a one-time promise. It is an evidence-based maintenance decision.
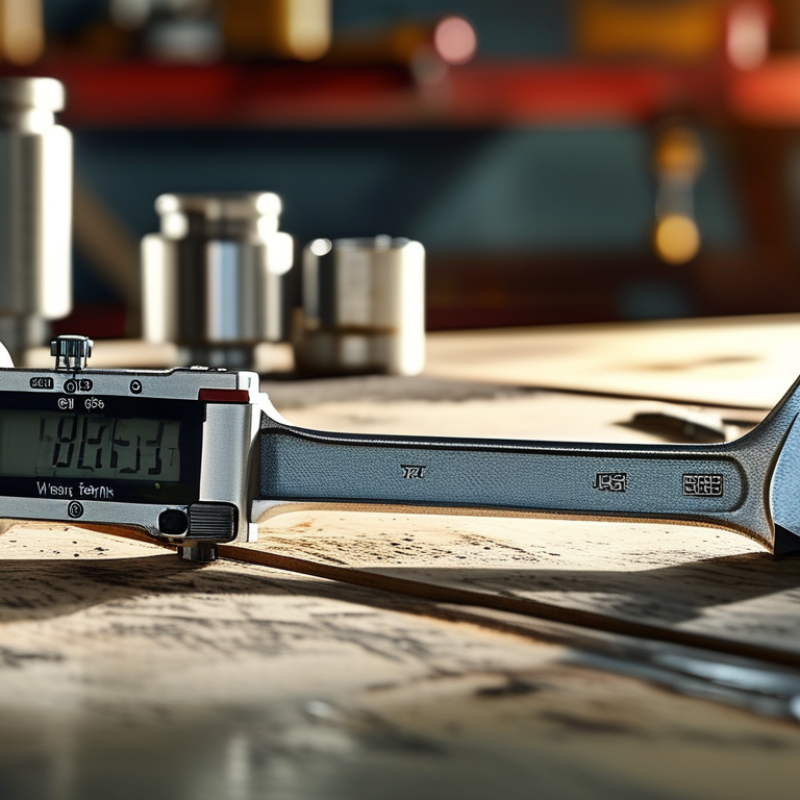
7 Tips to Calibrate a Torque Wrench Accurately?
Understanding Torque Wrench Calibration and Accuracy
Accurate calibration begins with a clean tool and a stable test setup. Remove oil, dirt, and damaged sockets before testing. Check the handle, scale, drive, and locking mechanism carefully. A cracked grip can affect control, even when the internal mechanism appears normal. Let the wrench and tester reach the same room temperature. Temperature changes can influence readings.
Use a certified torque tester with traceable calibration records. Test several points across the working range, not only the highest setting. Apply force slowly and keep your hand centered on the grip. Preload the wrench several times before recording results. This reduces inconsistent readings from stored spring tension. ISO 6789:2017 requires defined calibration procedures and measurement uncertainty, so a single reading is insufficient. It is not a perfect shortcut.
Record clockwise and, where required, counterclockwise results. Compare readings with the tolerance stated by the applicable standard or workplace procedure. ASME B107.300 commonly references accuracy targets near ±4% within defined operating ranges, but limits vary by tool class. NIST Technical Note 1297 explains that expanded uncertainty often uses a coverage factor of k=2, representing approximately 95% coverage under suitable assumptions. Do not hide uncertainty. Adjust the wrench only when the tester supports adjustment. Verify every setting after adjustment. Store the wrench at its manufacturer-specified low setting, never under load. I still see technicians skip the final verification. That small omission can invalidate an otherwise careful calibration.
Understanding torque wrench calibration and accuracy starts with testing the tool at suitable points across its rated capacity.
Chart explanation: The reference limits shown are commonly used for indicating torque tools under ISO 6789:2017: up to ±6% deviation below 20% of maximum capacity and up to ±4% from 20% to 100%. Always apply the exact requirements for the tool type, class, direction, and calibration procedure.
Accurate torque-wrench calibration begins with preparation, not adjustment. Gather a certified torque tester, suitable adapters, a clean workbench, and the wrench’s service instructions. The tester should have current calibration records traceable to a recognized national standard. Check its capacity before applying force. A device rated far above or below the wrench may produce unreliable readings. Keep the work area stable. Avoid vibration, drafts, oil, and sudden temperature changes. Let the wrench and tester reach room temperature for several hours.
Inspect the wrench carefully under good lighting. Look for cracked housing, bent parts, damaged drive squares, loose handles, or unreadable scales. Turn the adjustment mechanism slowly. It should move smoothly, without grinding or excessive play. Test the locking feature. It must hold the selected setting firmly. Release the tension after inspection, unless the service procedure states otherwise. Never calibrate a wrench with a slipping ratchet or damaged socket connection.
Clean contact surfaces with a lint-free cloth. Do not flood the mechanism with solvent. Excess lubricant can affect internal friction. I once overlooked a slightly loose adapter, and the readings changed noticeably. That mistake was small but costly. Repeat each measurement several times, using the same loading direction and hand position. Allow the mechanism to settle between cycles. Record the condition, temperature, readings, and any irregular movement before making adjustments. When damage or uncertain wear appears, professional laboratory service is safer than guesswork.
A reliable torque-wrench calibration test begins with a controlled setup, not the wrench alone. ISO 6789:2017 recommends checking readings at 20%, 60%, and 100% of rated capacity.
Use a certified torque transducer with a current calibration certificate. Its uncertainty should be significantly lower than the wrench’s tolerance. Keep the transducer aligned with the drive axis. Even a small angle can distort results.
Tip 1:
Let the equipment stabilize. Keep the room near 20°C, where practical, and avoid drafts, vibration, and oily contact surfaces.
NIST Technical Note 1297 recommends reporting expanded uncertainty with coverage factor k=2, representing approximately 95% confidence.
Record temperature, humidity, equipment identification, operator, and test direction. Missing details weaken traceability.
Tip 2:
Exercise the wrench several times before recording data. Then collect repeated readings at each target point. Five readings per point provide a useful comparison with ISO 6789 procedures.
Do not average away suspicious results. A drifting value may reveal a worn mechanism, poor seating, or an unstable fixture. I would repeat the setup once, because a perfect number can still come from a careless alignment.
Tip 3:
Apply force smoothly at the handle’s marked position. Stop immediately after the release mechanism activates. Never reset the scale by tapping it.
Compare each reading with the permitted tolerance and include measurement uncertainty in the decision. A calibration record should show raw readings, calculated error, uncertainty, and the next review date.
Accurate torque wrench calibration begins with controlled conditions, not a hurried adjustment. Let the wrench and tester reach room temperature before testing. Temperature changes can affect readings. I have seen small variations after tools moved from a cold workshop.
Apply seven practical accuracy controls.
Small details matter. Pull smoothly. Do not jerk. Watch the scale at eye level to avoid reading errors. Test near the lower, middle, and upper portions of the wrench’s range, when the procedure allows it. Compare results against the applicable manufacturer specification or recognized technical standard. A qualified laboratory should perform formal calibration when traceability is required. The laboratory should also maintain suitable environmental controls and reference equipment.
Do not confuse calibration with repair. If readings exceed tolerance, remove the wrench from service until a competent technician evaluates it. A neat record cannot correct poor technique. I still review unusual readings twice, because the first explanation is not always the right one.
Accurate torque wrench calibration depends on more than a final pass-or-fail number. Record the wrench identification, range, operator, date, and ambient temperature. Note the reference standard and its certificate number. The standard should be traceable to a recognized measurement system. Before testing, inspect the handle, drive square, and adjustment mechanism. Clean the contact surfaces carefully. Apply torque smoothly, without sudden movement. Record at least five readings at selected torque points. Use increasing and decreasing measurements when the procedure requires it. Small details matter.
A useful record shows as-found results before adjustment and as-left results after service. Include the target torque, indicated value, error, measurement uncertainty, and acceptance limit. If a reading fails, do not quietly replace it. Investigate temperature, operator technique, fixture alignment, and mechanical wear. During one workshop check, a wrench passed after adjustment, but its original drift revealed poor storage conditions. That detail changed our maintenance schedule. Review calibration trends over time. Set intervals according to use, load, storage, and historical stability, not habit alone. Keep records secure, legible, and easy to retrieve. A controlled procedure should define equipment checks, environmental limits, calculations, and approval responsibilities. Review the process honestly. Even a neat spreadsheet can hide a weak measurement method. Have competent personnel verify unusual results and retain supporting evidence.
Use a certified torque tester, suitable adapters, a clean bench, and service instructions. Check the tester’s capacity first.
Look for cracks, bent parts, loose handles, damaged drive squares, and unreadable scales. The locking feature must hold firmly.
Keep the wrench and tester at room temperature for several hours. Avoid vibration, drafts, oil, and sudden temperature changes.
Keep the adapter aligned with the drive axis. Even a small angle can distort the torque reading.
Check readings near 20%, 60%, and 100% of the wrench’s rated capacity. These points show performance across its range.
Five repeated readings provide a useful comparison. Use the same loading direction and hand position each time.
Apply force smoothly at the handle’s marked position. Stop immediately when the release mechanism activates.
Record temperature, humidity, equipment details, operator, direction, raw readings, error, uncertainty, and review date. Missing details weaken traceability.
Do not average away drifting values. Repeat the setup and inspect seating, alignment, and fixture stability.
Use professional laboratory service for cracked parts, slipping mechanisms, uncertain wear, or unstable results. Guesswork can be costly.
Accurate torque wrench calibration is essential for achieving reliable fastening results and preventing damage caused by excessive or insufficient torque. To understand how to calibrate a torque wrench accurately, begin by inspecting the tool for wear, contamination, loose components, or visible damage. Gather a suitable calibration device, stable supports, and clear measurement references. The wrench should be tested in a controlled environment, positioned correctly, and operated smoothly without sudden movements or side loading.
Apply seven practical accuracy tips: allow the equipment to reach room temperature, confirm the test device is properly zeroed, use the correct attachment point, apply force at the handle’s designated location, increase torque gradually, repeat each measurement several times, and compare the readings with the required tolerance. Record every result, including the test conditions and adjustments made. If readings fall outside acceptable limits, the wrench should be serviced or recalibrated before use. Regular checks, careful storage, and documented maintenance help preserve calibration standards and support consistent, dependable performance.

Pargo Tool